Showing posts with label to DIY for. Show all posts

Wednesday, March 17, 2010

to DIY for: recycled card or paper box tutorial


what's better than a cute craft project? a practical and cute craft project. and what's better than that? a chance to recycle while making something cute and practical!


today i want to share with you a tutorial for making your own little box out of a recycled cereal box and some recycled card or paper. its relatively easy and you could make a whole box in a couple of evenings. satisfying and just in time for easter.


hop to it! this box is so cute and easy, you'll have one made in no time!


i certainly didn't invent this method, but it seems to have fallen out of common knowledge. do you remember your grandmother or older relatives making these kinds of boxes? i remember seeing crochet edged boxes like this made of recycled christmas cards, wrapping paper or greeting cards at fetes growing up. even my sewing basket is made in a similar style, and i know a friend who has a wastepaper basket made the same way. its a very versatile way of using old cards or papers that you can't bring yourself to throw away, and with environmental responsibility and saving money at the forefront of a lot of people's minds, i think its time to re-embrace this canny little craft! does this craft even have a name? if you know, leave a comment!


you could top the lid with ribbons, flowers, rosettes. be creative!


i specifically wanted to make an easter basket, so i designed my own paper to use. this box pictured was constructed from photo paper (with my design printed on it), a cereal box, and some plain white card to line the box. i recommend covering the interior and exterior layers with clear plastic vinyl or transparent plastic (like overhead projector sheets) if you want your box to last well or intend to present edible treats in it. imagine receiving a cute handmade box filled with some fresh baked cookies! now thats a resourceful but heartfelt gift i'd love to get. hint, hint, any friends reading!


easter cookies

did somebody say cookies?


i love 'old lady' crafts because most of the time they're very practical and born of necessity. practicality really isn't my strong suite, but i'm a sucker for boxes and containers to store little stuff in. while the crochet edging is very pretty, don't be put off if you can't crochet. just follow the instructions the same way, but replace any mention of crochet with a simple blanket stitch. it will be a little bit less frilly, but you'll still have a cute way to use up those pretty bits of paper.


all you need, plus some cardboard


for instructions and template to make your own recycled card box click here


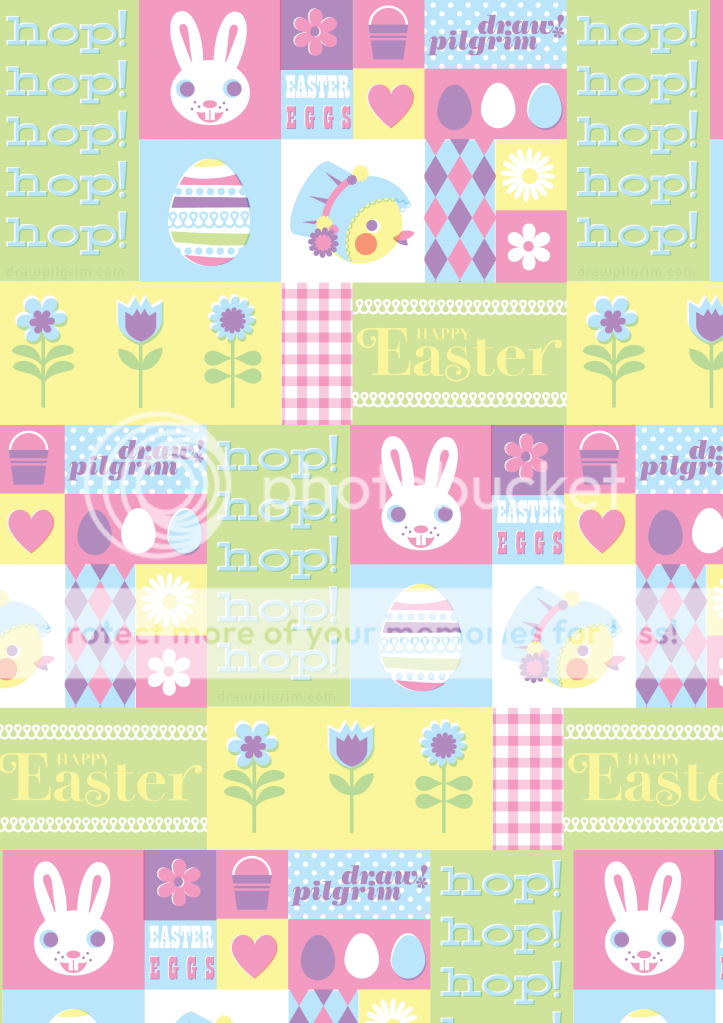
and as an early easter present to you lovely draw! pilgrim readers, you can make an easter patterned box just like mine! click here for an A4 sized easter paper pattern you can print out.


Tuesday, February 23, 2010

to DIY for: felt flower clips


last weekend i decided to pretty up a pair of plain slip on shoes i have by making up some felt flower clip-on's. i think felt is just the cutest medium for crafting, if you're lucky and have access to good quality felt it will have a really nice thickness and will come in just about any color you dream. i got my gorgeous felt from little sparrow.


add a cute button if you like

i made up this bold little flower design and if you'd like to make one too, click here for a printable pattern. the flower clip-on is quick, easy and its versatile. clip it on your hair one day, and the next try it on your lapel. i'm sure you could think of a thousand more uses, but to start with try your clip on flowers on:
✽ shoes
✽ hair
✽ bag
✽ pockets
✽ lapels


why settle for accessories that look like everyone else's when you can craft a little something to set you apart from the crowd? and even better, its no trouble if you change your mind: just un-clip them!

did i mention you can make them without sewing? you can either sew them onto the hair clips or use a hot glue gun if you're staunchly anti-sew.

sewing not necessary!

if you use my pattern, i'd love you to show your results with a link in the comments. happy DIYing!

Tuesday, February 9, 2010

valentine's day: sweet treats


love day is coming! is that good news or bad news? its not really a big deal in australia. when i was little my mum always put a little heart chocolate in my lunchbox, or left a little hand made card on my pillow. i like the idea of small, sweet gestures. nothing ostentatious, just something to make this one day a little more special than all the others. and its even better if you made it yourself!

not quite up to weaving a commemorative valentine's day macrame wall hanging? too busy to bake an anatomically correct heart shaped croquembouche? never fear, draw! pilgrim is here, with a sweet and wholesome solution to your problems: the valentines day 2010 apple sticker! fill your loved one's brown bag with sweet, juicy, love!


all you need to do is choose your apple, print out the design (on sticker paper, or regular paper that can be double-side taped to your apple) and pop the flirty fruit in their lunch bag! easy as pie a la mode!

not into apples? (you are aware that taken daily, they keep doctors away, right?) i'm not here to judge you. but you too can feel the love with my super special valentines day wallpaper! use it on your twit-face-space page or right click to set it as your computer's wallpaper. or better yet, print it out and paper the whole house!


let the lovin' commence!

Tuesday, December 22, 2009

creative christmas: its beginning to look a lot like...


the log is yuled! the halls are decked! and the winter wonderland... is in the other hemisphere. but one thing is for certain is is definitely beginning to look a lot like christmas 'round here. want to see what i mean?


the wreath is up! i made this a couple of years ago after being dismayed at the boooooring wreaths in the shops. a lot of glitter, some synthethic leaves and some evenings in front of the tv with the hot glue gun and i have exactly what i wanted. satisfying!


here is a close-up of the pears and birdie. the pears were made from a styrofoam bell spliced with a sphere (er, you can see the seam!). its a franken-pear!


i made some fabric bunting this year. its not as fancy as some people's but i didn't have bias tape so i used some string. maybe a little rustic, but thrifty!


the pudding was made a few weeks ago, and its been maturing in the fridge since then. pictured above is the boozed up fruit, stewing away!


isn't it a cute pudding?! almost too cute to eat. ha! who am i kidding?!


here are some gift tags i designed and printed using moo. they're the perfect size for tags and as with the wreath, its sooo satisfying having exactly what you want! tied up with some red and white bakers twine and they look rather cute.


ah! the presents! all wrapped and ready to be torn apart in a frenzy of excitement. also pictured above are some of the gift tags in action.


and do you know pippilotta delicatessa windowshade mackrelmint ephraim's daughter longstocking? my son has enjoyed hearing the pippi longstocking stories multiple times this year, so i thought he might appreciate his mummy making him a pippi playmate of his very own.


what do you think? cheeky enough to do justice to pippi longstocking herself? she was so much fun to make.

this is my last post for 2009. i wish you all a beautiful and safe christmas and a brilliant, sparkly, new years eve.

thank you for reading draw! pilgrim, its been a tough, long year, but 2010 promises to be bigger, happier, and at least a bit more exciting in january when we're off on our californian adventure! i really appreciate your comments and support and i can't wait to share some exciting news come the end of january.

posting resumes january 11th, live! from the USA

Thursday, September 10, 2009

made by pilgrim: moss terrarium update


Photobucket


you might remember that a while back i showed you how i made a moss terrarium. i was pretty naughty and ignored all the good 'how to make a moss terrarium' advice i found online and just went ahead and cobbled together a pretty cute looking terrarium (if i do say so myself!) just for the fun of it.


Terrarium, Open

moss terrarium in july


well six weeks have passed and my terrarium lives on. i've tended to it almost lovingly, spraying it with water when i remember (about once a week) and making sure it stays in a light position (by forgetting it exists). every few days i leave the lid off for a while so it can get some fresh air, but mostly it just sits there, all fogged up. so how is it looking, you ask?


moss terrarium update

moss terrarium in september


as you can see (as much as you can see, thankyouverymuch iphone camera.. proper camera coming soon!) there is a tall stalk of something growing and the moss has assimilated nicely into its new home. the deer and the toadstools however, remain the same - turns out it isn't a magic terrarium.


Tuesday, September 1, 2009

pilgrim's place: kitchen stitchin'


My kitchen


despite my best intentions, i'm not a naturally tidy person. and, as i transcribed from my calligraphy book numerous times when i was nine years old, "creative minds are rarely tidy" (that was about all i learned from the calligraphy book before it got lost in the maelstrom of my bedroom!). i'm not sure wether i am burdened by that adage or try to live up to it but one thing i am getting good at is creatively hiding my untidiness!

exhibit a: the kitchen bench/storage shelves. just your average ikea item, but a scene of stacked platters and unsightly appliances! this wouldn't be a problem if they didn't also get dusty and covered in the drifts of coffee grinds that seem to settle on everything in the vicinity of the espresso machine.

solution: whip up some cute curtains out of those orla kiely tea-towels i was too scared to let touch a wet dish! (but not too scared to cut up... go figure?!)

i used three tea towels (2 blue and one patterned one - halved and sewn to each of the blue), and some curtain cord (the kind that is plastic coated and you can screw metal 'eyes' into, with matching size hooks). it was a very quick job and the sewing was probably the longest part.

i'm very happy with the result, and as you can see in the picture above, they blend in very nicely to my little blue kitchen!


Related Posts with Thumbnails